
AutoCAD 2D Drawing Workshop
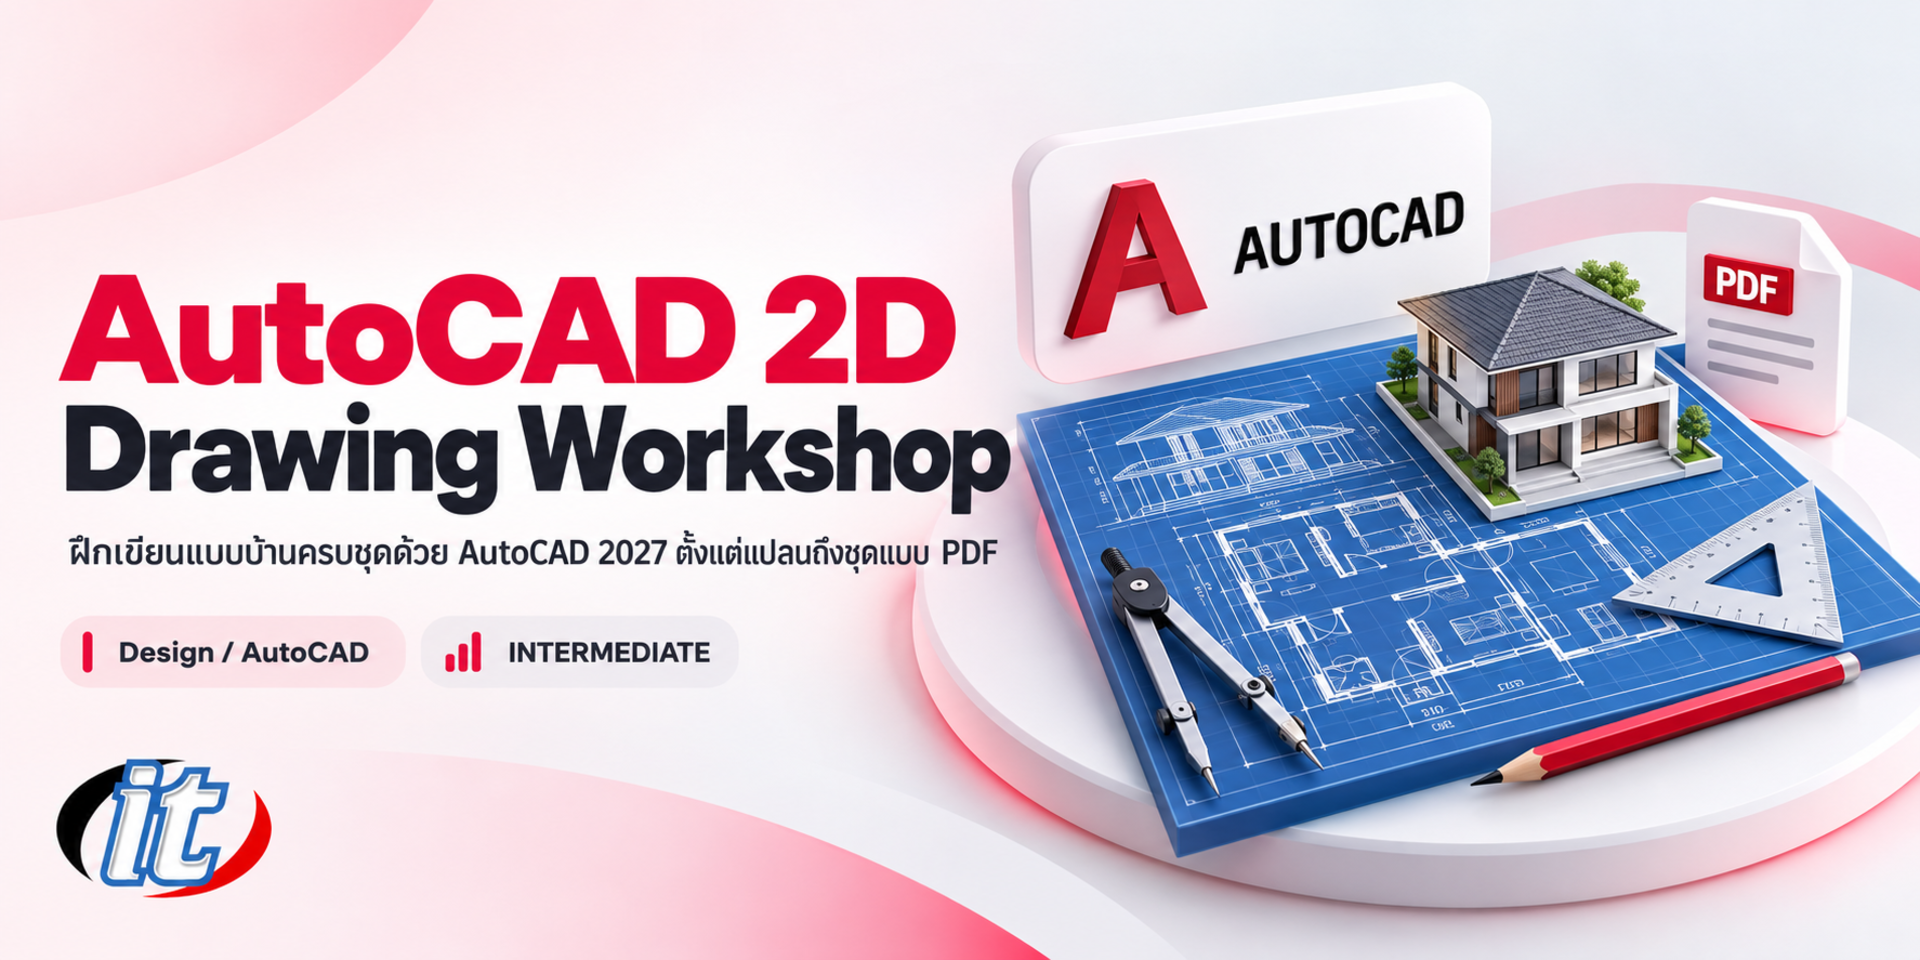
AutoCAD 2D Drawing Workshop is a hands-on workshop in producing a complete drawing set for a two-storey house, from an office template, floor plans, roof and site plans to elevations, sections, enlarged details, layouts and PDF output. It suits architects, interior designers and draughtspeople who already know the basic commands, and you leave with your own house drawing set.
- Duration30 hours · 5 days
- FormatOnsite / live online
- Next roundOn request
- CertificateIncluded
Course overview
Many people who have learnt AutoCAD commands still draw real projects slowly, because they are not sure where to start, what to set up first or how to combine commands. The result is drawings with mixed-up layers, text and dimensions at the wrong scale when printed, and repeated rework whenever a client asks for a change. Drawing one complete set from start to finish, in the order a design office actually works, is the shortcut to working faster and with more confidence.
This course is a workshop that produces a full drawing set for a two-storey house in AutoCAD 2027. It starts with an office template, setting units, layers, text styles and annotative dimension styles, and building the blocks and dynamic blocks used most often. Learners then draw the floor plans for both storeys, the roof plan, the site plan, elevations, sections and enlarged details of doors and windows,
stairs and a bathroom, together with a door and window schedule from Count. They set up layouts, scale viewports, plot the set to PDF and check it with newer tools such as Geometry Cleanup before handing it over. The course closes with revising the design to a brief and submitting a drawing set of their own. (5 days, 6 hours per day, 30 hours in total, Intermediate level.)
What you’ll gain
- Set up an office template with units, layers, text styles and annotative dimension styles
- Create blocks, attributes and dynamic blocks for doors, windows, sanitary ware and furniture
- Draw complete floor plans, a roof plan and a site plan for a two-storey house
- Draw the elevations, sections and enlarged details used in a construction drawing set
- Add dimensions, levels, notes and a door and window schedule at the correct scale
- Set up layouts, scale viewports and plot the drawing set to PDF
- Check, clean up and hand over drawing files in an orderly way for others to continue
Who this course is for
- Architects and architectural assistants who draw houses and buildings in AutoCAD
- Interior designers who produce plans, elevations and enlarged details
- Product designers, draughtspeople and contractors who read and revise drawings
- People who know the basic AutoCAD commands and want to practise producing a complete real drawing set
Prerequisites
- Able to use basic AutoCAD drawing and editing commands such as LINE, OFFSET, TRIM, COPY and MOVE, or have completed a basic AutoCAD course
- Able to read basic architectural drawings, or have a background in design or construction
- Comfortable using a computer and managing files on Windows
- A laptop with AutoCAD 2027 or a nearby version (your own or your organisation's licence, or a trial) and a mouse
Curriculum
Course Details
This is the 2026 edition of the AutoCAD Drawing 2D Workshop course. It runs for 5 days, 6 hours per day (30 hours in total, 09:00-16:00), as a workshop that produces one complete drawing set for a two-storey house throughout the course, at Intermediate level. The content has been rewritten for AutoCAD 2027, adding an office template, annotative scaling, dynamic blocks, Count, xrefs with Connected References, Smart Blocks, Geometry Cleanup and publishing the drawing set to PDF. It builds on the AutoCAD course for beginners. Learners use their own or their organisation's copy of AutoCAD, or a trial. They take home the course handbook, the template, a block library, drawing files with answers for every lab, and the house drawing set they produce in the workshop.
Day 1 Setting Up Like a Design Office
Section 1: Getting Started with AutoCAD 2027 for Drafting
- The workshop brief: the two-storey house drawing set built throughout the course
- The AutoCAD 2027 interface, workspaces, the command line and options worth changing
- What is new for 2D work, and an overview of Autodesk Assistant
- A review of the drawing and editing commands used most in architectural work
- Lab: draw a single-room plan with basic commands against the clock
Section 2: Lab: Setting Up an Office Template
- Millimetre units, precision and drawing extents
- A layer standard by type of work, with colours, linetypes and lineweights
- Thai and English text styles, and a dimension style for architectural work
- The annotative approach, so text and dimensions are at the right scale in every viewport
- Lab: create a .dwt template to use throughout the course
Section 3: Lab: Everyday Blocks and Dynamic Blocks
- Create blocks for doors, windows, sanitary ware, furniture and symbols
- Attributes for room tags, levels and title blocks
- Dynamic blocks that stretch, flip and switch between versions with visibility states
- Organise a block library with the Blocks palette and tool palettes
- Lab: a dynamic swing door block with adjustable width and direction
Section 4: Lab: Drafting Faster and More Accurately
- Object snaps, object snap tracking, polar tracking and dynamic input
- Select objects efficiently with Quick Select and Select Similar
- Properties, Match Properties, groups and quick layer management
- Lab: a speed exercise drawing a bathroom and a kitchen from a sketch
Day 2 Ground and First Floor Plans
Section 5: Lab: Column Grid, Columns and Ground Floor Walls
- Set out the column grid and grid bubbles with attribute blocks
- Draw columns and walls with OFFSET or MLINE, and choose the right method
- Clean up wall corners and junctions with FILLET, TRIM and EXTEND
- Lab: draw the grid, columns and all walls of the ground floor plan
Section 6: Lab: Doors, Windows and Stairs
- Cut wall openings and place dynamic door and window blocks
- Work out risers and treads and draw the stair in plan with an up arrow
- Changes in floor level, sliding doors and special openings
- Lab: complete the doors, windows and stair on the ground floor plan
Section 7: Lab: Furniture, Room Names and Areas
- Lay out furniture and sanitary ware from the block library
- Hatch floor finishes and set the hatch origin
- Room tags with areas using attributes and fields
- Count blocks with Count and the Count palette
- Lab: add furniture, floor patterns and room names to the ground floor plan
Section 8: Lab: First Floor Plan and Dimensioning
- Build the first floor plan from the ground floor and change what differs
- Linear, continued, baseline and quick dimensions
- Multileaders for material notes and remarks
- Lab: complete the first floor plan and dimension both floors
Day 3 Roof Plan, Site Plan and Elevations
Section 9: Lab: Roof Plan
- Gable and hip roofs, and finding ridge and hip lines
- Draw eaves, gutters and slope directions
- Add levels and roofing materials to the drawing
- Lab: draw the roof plan from the first floor plan
Section 10: Lab: Site Plan with Xrefs
- External references (xrefs) and splitting files by drawing type
- Attach the building plan to the site plan and clip only the part you need
- Fix missing xref paths with Connected References
- Draw the boundary, setbacks, driveway, trees and north arrow
- Lab: a site plan that references the building plan as an xref
Section 11: Lab: Front and Rear Elevations
- Project lines from the plan with construction lines and rays
- Set floor, ceiling and roof levels with level symbol blocks
- Draw doors, windows and wall finishes in elevation
- Lab: draw the front and rear elevations of the house
Section 12: Lab: Side Elevations and Line Weights
- Draw both side elevations consistently with the plans and the roof
- Hatch wall and roof materials so they read well when printed
- Set lineweights so cut lines, elevation lines and ground lines are clearly different
- Lab: all four elevations with levels and drawing notes
Day 4 Sections and Enlarged Details
Section 13: Lab: Building Sections
- Choose section lines and draw section symbols on the plan
- Draw footings, slabs, beams, walls and roof structure in section
- Hatch cut materials and materials seen beyond
- Lab: draw a longitudinal and a cross section of the house
Section 14: Lab: Door and Window Details and Schedule
- Draw enlarged elevations of each door and window type
- Door and window codes in blocks and referencing them on the plan
- Build a door and window schedule with tables and a table from the Count palette
- Lab: details and a schedule for every door and window in the house
Section 15: Lab: Stair Details
- An enlarged stair plan and section at a larger scale
- Risers, treads, landings and balustrades
- Dimensions and material notes with annotative objects
- Lab: an enlarged stair detail with a section
Section 16: Lab: Bathroom Details
- An enlarged bathroom plan with sanitary ware positions and tile layout
- Elevations of every bathroom wall with levels and fittings
- Material notes with multileaders and drawing reference symbols
- Lab: a complete set of details for one bathroom
Day 5 Layouts, Checking and Handover
Section 17: Lab: Layouts and Title Blocks
- Model space and paper space, and page setups
- Drawing borders and title blocks as attribute blocks
- Create viewports at 1:100, 1:50 and 1:20 scales and lock them
- Freeze layers per viewport and check annotative text sizes
- Lab: lay out plans, elevations, sections and details on every sheet
Section 18: Lab: Plotting and Publishing a PDF Set
- CTB plot styles and setting line weights for printing
- Plot to A3 and A1 paper and preview before printing
- Publish several layouts to a single PDF file
- Lab: export the house drawing set to PDF for a client presentation
Section 19: Lab: Checking and Handing Over Files
- Find and fix faulty geometry with Geometry Cleanup in AutoCAD 2027
- Convert repeated geometry into blocks with Smart Blocks: Search and Convert
- Clean files with PURGE and AUDIT, and compare revisions with DWG Compare
- Package files and xrefs for others with eTransmit
- Lab: check, clean and package the drawing set for handover
Section 20: Workshop: My House Drawing Set
- Take a revision brief from a fictional client
- Revise plans, elevations, sections and schedules so the whole set stays consistent
- Set up layouts and publish the revised set to PDF
- Workshop: present the drawing set, review it together and wrap up with a pre-submission checklist
Schedule & training options
For individuals — public rounds
No public rounds are open right now. Join the waiting list and we will contact you first when the next round opens, or ask us on LINE. Or call 02-570-8449 or 088-807-9770
For organisations — in-house / private
- Tailor the content to your team’s tools and projects
- Your dates, at your office or live online
- Quotation with tax ID for procurement
Instructors

Frequently asked questions
What are the steps to draw a house plan in AutoCAD?
Start from a template with units, layers, text styles and dimension styles already set. Set out the column grid and columns, draw the walls with OFFSET or MLINE and clean up the corners, cut openings and place door and window blocks, draw the stair, lay out furniture, hatch the floor finishes, add room names and areas, then dimension with annotative dimensions before setting up layouts and plotting to PDF. The course practises every step on one two-storey house.
What is the difference between a section and an elevation?
An elevation shows the building from the outside on each side, with its shape, doors, windows, wall finishes, roof and levels. A section shows the building as if it were cut along a line marked on the plan and viewed from inside, revealing footings, slabs, beams, room heights and the roof structure. In this course you project lines from the plans to draw all four elevations and two sections, with line weights set so they read clearly.
What are enlarged details in architectural drawings, and which parts need them?
Enlarged details show part of a building at a larger scale than the plans, such as 1:20 or 1:10, so builders can construct it correctly. Parts that usually need details are each door and window type, with a door and window schedule, the stairs and the bathrooms. The course practises all three, uses annotative objects so text and dimensions stay at the right scale, and builds the schedule from the Count palette.
Who is the AutoCAD 2D Drawing Workshop course for, and what should I know beforehand?
It suits architects, interior designers, product designers, draughtspeople and anyone who has learnt AutoCAD commands and wants to practise producing a complete real drawing set. You should be able to use the basic drawing and editing commands, or have completed a basic AutoCAD course, read basic architectural drawings, and bring a laptop with AutoCAD 2027 or a nearby version.
What will I be able to do after the AutoCAD 2D Drawing Workshop course?
You will be able to set up an office template and start work methodically, draw complete floor plans, roof and site plans, elevations, sections and enlarged details, work faster with dynamic blocks, Count and xrefs, set up layouts and plot the set to PDF at the correct scale, and check drawings before handover, taking home your own two-storey house drawing set as an example. Participants who complete the training receive a Certificate of Completion with its own number, which can be verified online.
Which version of AutoCAD does the course use, and can I use AutoCAD LT?
The course is based on AutoCAD 2027 and follows the latest release on the training day. Most of the 2D commands taught work in nearby versions and in AutoCAD LT, but some features, such as certain newer tools, may only be available in full AutoCAD; if your version lacks them, the instructor demonstrates them. Learners use a licensed copy of AutoCAD, their own or their organisation's, or a trial from Autodesk.