
Android App Development for Teachers and Students
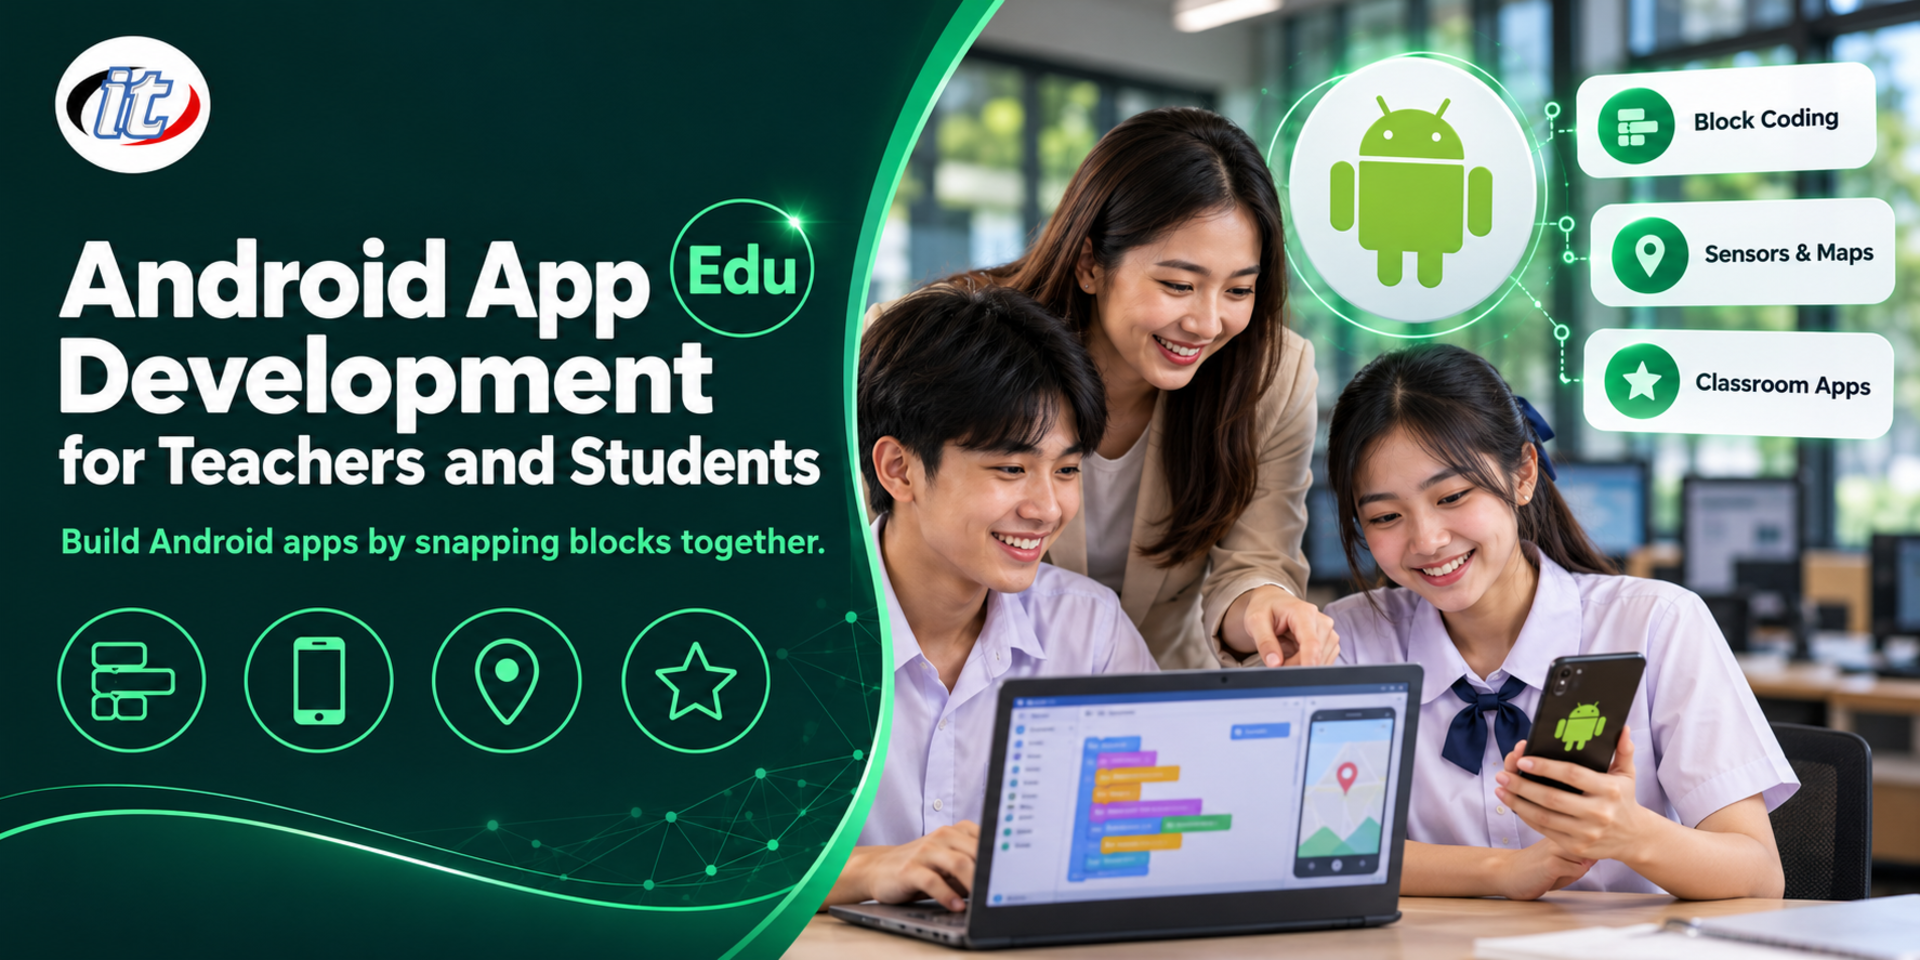
Android App Development for Teachers and Students is a beginner course in building Android apps with blocks in MIT App Inventor, from screen design, sound, camera, sensors and maps to storing data and building the app for publishing. It suits secondary school students, university students and teachers of IT, and you leave able to build your own app.
- Duration18 hours · 3 days
- FormatOnsite / live online
- Next roundOn request
- CertificateIncluded
Course overview
Building mobile apps is a great way to teach computational thinking, because learners see their own work running on a real device straight away. MIT App Inventor is a free web-based tool that uses blocks instead of typed code, so beginners can build Android apps that use sound, the camera, sensors, maps and databases without any programming background, and teachers can use it in their subjects or for student projects.
This course takes teachers and students from an introduction to the Android platform, setting up and connecting a phone with the AI2 Companion, screen design and block programming to forms and multi-screen apps. Learners build a talking app, a game, a drawing app, a camera app and a map app, try AI in an app, store data and connect to the web, and go on to build an install file and prepare it for Google Play, finishing by creating an app for their own classroom. (3 days, 6 hours per day, 18 hours in total, Beginner level.)
What you’ll gain
- Understand the Android platform and the app development process with MIT App Inventor
- Set up the tools and test apps on a real phone with the AI2 Companion
- Design screens, input forms and multi-screen apps
- Program with blocks using events, variables, conditions, loops and procedures
- Use sound, sensors, the camera, location and maps in an app
- Store data on the device and in the cloud, and connect to the web
- Build an app and prepare it for publishing on Google Play
- Design app-building activities for teaching and learning
Who this course is for
- Secondary school and university students interested in building mobile apps
- Teachers, lecturers and school staff who teach computing, IT or app development
- Anyone who wants to turn a project or teaching material into a mobile app
- Members of the public who want to start building apps without typing code
Prerequisites
- Able to use a computer and the internet at a basic level
- Able to search online and create simple images
- A Google account to sign in to MIT App Inventor
- An Android phone or tablet that can install apps, for testing on a real device
Curriculum
Course Details
This course is the 2026 edition of Android App Development for Teachers and Students. It runs for 3 days, 6 hours per day (18 hours in total, 09:00-16:00), as lectures with workshops. Beginner level. This edition uses the current MIT App Inventor and tests on real phones with the AI2 Companion. It keeps the original example apps, Talk To Me, Ball Bounce, Digital Doodle, a camera app and Where's My Car?, along with databases and web connections,
but shows maps inside the app with the Map component instead of opening Google Maps, adds CloudDB for shared data, adds a responsible first look at the ChatBot component, updates publishing to the .aab format for Google Play, and adds a workshop on building an app for the classroom. The course programs with blocks, unlike Basic Android Development with Kotlin, which uses Kotlin code. Learners take home a lab guide and .aia project files to use in their own teaching.
Day 1 Getting Started with Android Apps in App Inventor
Section 1: Introducing Android and App Inventor
- The Android operating system and the mobile apps we use every day
- What MIT App Inventor is and why it suits the classroom
- The Designer for layout and the Blocks Editor for programming
- Visible and non-visible components
- Workshop: explore sample apps and plan your own app idea
Section 2: Lab: Setting Up and Connecting a Phone
- Sign in to MIT App Inventor with a Google account
- Install the MIT AI2 Companion on a phone and connect with a QR code
- Alternatives when Wi-Fi connection fails, such as USB or the emulator
- Save, copy and export projects as .aia files
- Lab: a Hello app running on your own phone
Section 3: Lab: Designing App Screens
- Label, Button, TextBox, Image and setting properties
- Layout with vertical, horizontal and table arrangements
- Colours, font sizes, images and the app icon
- Designing for different screen sizes
- Lab: a welcome screen and app menu
Section 4: Lab: Programming with Blocks
- Event handlers such as button clicks, and controlling components
- Variables, Text, Math, Logic and if conditions
- Loops, lists and procedures for reusable code
- Input forms, empty-value checks and multi-screen apps
- Lab: a multi-screen score and grade calculator
Section 5: Lab: The Talk To Me App
- Turn text into speech with TextToSpeech
- Set language, speed and pitch, including Thai
- Make the app speak when the phone is shaken with AccelerometerSensor
- Turn speech into text with SpeechRecognizer
- Lab: Talk To Me and Talk To Me Shake
Day 2 Games, Graphics, Camera, Maps and AI
Section 6: Workshop: The Ball Bounce Game
- The Canvas drawing area and Ball and ImageSprite objects
- Direction, speed and bouncing off the edges
- Detect collisions between objects and keep score
- Control game time and rounds with Clock
- Workshop: a Ball Bounce game with scores and levels
Section 7: Workshop: The Digital Doodle Drawing App
- Draw dots and lines with the Touched and Dragged events
- Choose colours and line width with buttons and a slider
- Clear the drawing and draw on a background image
- Save the drawing to the device
- Workshop: a Digital Doodle app for drawing and saving pictures
Section 8: Workshop: Camera and Media Apps
- Take photos with Camera and choose images with ImagePicker
- Draw and write text over a photo
- Play sounds with Sound and Player
- Share images with other apps through Sharing, and asking for camera permission
- Workshop: a Paint Pot app that draws on camera photos
Section 9: Lab: Location and Maps
- Read the current coordinates with LocationSensor
- Show a map inside the app with the Map component
- Add pins with Marker and show the user's location
- GPS accuracy and asking for location permission
- Lab: an app showing your location and key places around the school
Section 10: Lab: Adding AI to an App Responsibly
- The experimental ChatBot component, which works through an MIT service
- Send questions, receive answers and keep conversation context
- Usage quotas, error handling and keeping personal data out
- Teach students to check AI answers before using them
- Lab: a question-and-answer lesson review assistant
Day 3 Data, the Web, Publishing and Classroom Apps
Section 11: Lab: Storing Data on the Device
- Save and read values with TinyDB so they survive closing the app
- Manage several records with lists
- Read and write text and CSV files with File
- Show lists of data with ListView
- Lab: a vocabulary and to-do app that keeps its data
Section 12: Workshop: The Where's My Car? App
- Record where the car is parked with LocationSensor
- Store the coordinates in TinyDB
- Show your current location and the parking spot on a Map
- Show the distance and find the way back to the saved spot
- Workshop: Where's My Car? that works even after the app is closed
Section 13: Lab: Connecting to the Web and the Cloud
- Fetch data from the web with the Web component
- Read JSON data from a web API
- Upload files to a web server with PostFile
- Use CloudDB to store data shared by several devices
- Lab: an app that sends students' answers to the teacher instantly
Section 14: Building and Preparing to Publish
- Build an .apk file for test installs
- Build an .aab file for Google Play
- Export and keep the keystore for every future update
- Google Play Console steps, screenshots and a privacy policy
- Lab: build your own app and install it on a phone
Section 15: Workshop: An App for the Classroom
- Choose a problem from a subject or student project
- Plan the screens, data and blocks before building
- Build, test and fix the app on a real phone
- Approaches for teaching and assessing students' apps
- Workshop: present your app and share feedback
Schedule & training options
For individuals — public rounds
No public rounds are open right now. Join the waiting list and we will contact you first when the next round opens, or ask us on LINE. Or call 02-570-8449 or 088-807-9770
For organisations — in-house / private
- Tailor the content to your team’s tools and projects
- Your dates, at your office or live online
- Quotation with tax ID for procurement
Instructors

Frequently asked questions
How do you set up a real Android phone to test your app?
Install the MIT AI2 Companion app from Google Play on the phone and put the phone and computer on the same Wi-Fi network. In App Inventor, choose Connect and AI Companion to get a QR code or six-character code, then scan or type it in the Companion. The app appears on the phone and updates as you edit. If the venue's Wi-Fi blocks the connection, use a USB cable with USB debugging turned on in Developer options, or use the emulator on the computer.
What is text-to-speech and how can it be used in an App Inventor app?
Text-to-speech turns text into spoken audio using the device's speech engine. In App Inventor, the TextToSpeech component takes the text, sets the language, speed and pitch, and is told to Speak. It suits reading aids, pronunciation practice and apps that give spoken instructions. For Thai speech, the device needs Thai voice data installed in its speech engine.
How do you build and sign an app before publishing it on Google Play?
In App Inventor, build an .aab file, the format Google Play uses. The app is signed with the key in your account's keystore, so export the keystore and keep it safe, because every update must be signed with the same key. Then register a developer account in Google Play Console, which charges a fee, upload the file and add the description, screenshots and privacy policy before submitting it for review. An .apk file is for test installs on a device.
Who is the Android App Development for Teachers and Students course for, and what should I know beforehand?
It suits secondary school and university students, teachers and school staff who teach computing, IT or app development, and anyone interested. No programming background is needed, as the course uses blocks. You should be comfortable with a computer and the internet, be able to create simple images, have a Google account, and bring an Android phone or tablet for testing.
What will I be able to do after the Android App Development for Teachers and Students course?
You will be able to build Android apps with MIT App Inventor and test them on a real phone, design multi-screen apps with input forms, build a talking app, a ball game, a drawing app and a camera app, show locations on an in-app map, try the ChatBot component responsibly, store data on the device and in CloudDB, connect to the web, build an app ready for Google Play and plan app-building activities for the classroom. Participants who complete the training receive a Certificate of Completion with its own number, which can be verified online.
Can the Android App Development for Teachers and Students course be run in-house for our school?
Yes. It can be run in-house for your school's teachers or students, with examples adapted to your own work, such as apps that support a subject or student projects. You can request a quotation from this page, or contact us on LINE @itgenius or by phone on 02-570-8449.
Related articles
Articles are published in Thai.