Graphic Design · GPC-43

AI Rendering for Architecture and Interior

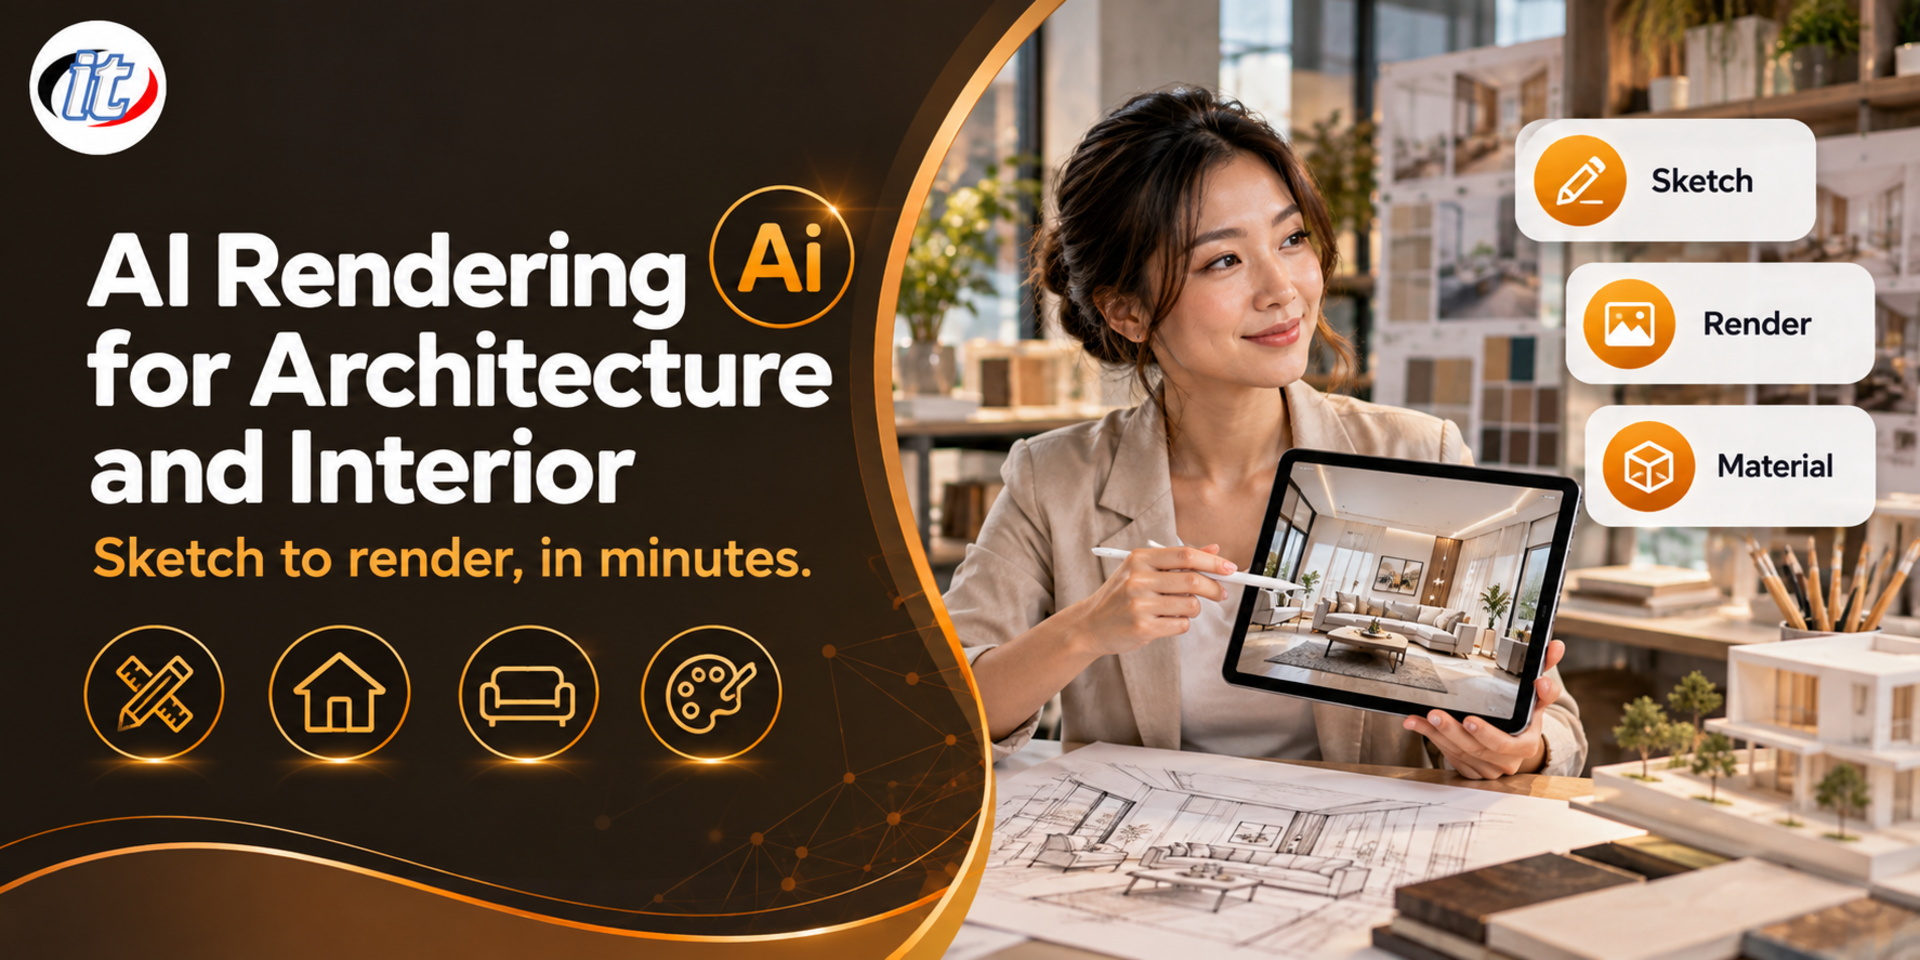
AI Rendering for Architecture and Interior is a hands-on course in turning sketches, plans and SketchUp views into realistic renders and mood boards with AI, from prompts written in design vocabulary to material swaps, virtual staging, inpainting and upscaling. It suits architects, interior designers and students, and you leave with a presentation set built from your own project.

Updated
From 6,210 THB / person 6,900 −10% excl. VAT 7% · group rates available
PDFDownload the course outline
  • Duration12 hours · 2 days
  • FormatOnsite / live online
  • Next roundOn request
  • CertificateIncluded

Course overview

Architects and interior designers spend a great deal of time producing images to communicate ideas to clients, from the first sketch and mood board to renders that tie up a workstation for hours. Early in a project, though, clients usually want to see several options quickly rather than one perfect image. The latest AI image tools can turn a hand sketch, a plan or a SketchUp view into a convincing atmospheric image in minutes, provided you know what to feed them and how to control the result.

This course is about producing real images for architecture and interior design. Learners set up a workflow in which AI helps without breaking the accuracy of the design, prepare source images, write prompts in the vocabulary of the profession, and use Nano Banana, SketchUp AI Render and Midjourney to create concept images and mood boards. They then swap materials, stage empty rooms, fix specific areas with Krita AI Diffusion, produce exteriors at different times of day, and finish images by upscaling and relighting them, while understanding copyright and the terms for commercial use. The course closes with a presentation set built from each learner's own project. (2 days, 6 hours per day, 12 hours in total, Beginner to Intermediate level.)

What you’ll gain

  • Plan a workflow that uses AI appropriately at each stage of a design project
  • Prepare sketches, plans and SketchUp viewports as source images that AI can follow
  • Write prompts using architectural vocabulary for materials, light, style and camera angle
  • Turn sketches into renders with Nano Banana and SketchUp AI Render
  • Swap materials, stage empty rooms and edit specific areas of an image precisely
  • Produce exteriors at different times of day and upscale images for presentation or print
  • Understand copyright, client confidentiality and each platform's terms for commercial use

Who this course is for

  • Architects and interior designers who want to produce concept and client presentation images faster
  • Architecture and interior design students who want AI to help with their presentations
  • Fit-out contractors and home or condominium sales teams who need preview images before work starts
  • 3D visualisers who want to bring AI into their image pipeline

Prerequisites

  • A background in architecture or interior design, or current study in the field
  • Basic SketchUp skills, or your own sketches and plans to work with
  • A Google account for Gemini, and willingness to subscribe to any paid tools you want to use
  • A laptop with internet access; running Krita AI Diffusion locally needs a graphics card with 6 GB or more

Curriculum

Course Details

The course runs for 2 days, 6 hours per day (12 hours in total, 09:00-16:00), as hands-on image work using sample sketches, plans and models, or the learner's own project. Beginner to Intermediate level. It focuses on producing images with AI for design work, unlike AI for Home & Interior, which covers AI in sales and marketing for home and decoration businesses. Learners use their own or company accounts. Midjourney, Magnific and SketchUp Pro are paid subscriptions, while Gemini has a free tier with image limits. Krita AI Diffusion is free but needs a capable graphics card or a paid cloud service. Learners take home the course handbook, a prompt library for architecture and interiors, sample files and a checklist for sending images to clients.

Day 1 From Sketch to Concept Image

Section 1: AI Rendering in Design Work and Preparing Source Images

  • How AI image generation differs from traditional rendering, and where it helps most
  • Limits to know: proportions, structural detail and images that do not match the construction drawings
  • Which hand sketches, line drawings or plans give results that keep their shape
  • Export SketchUp viewports as line and clay images and set up two-point perspective views
  • Lab: prepare source images of a living room and a sample building

Section 2: Prompting with Architectural Vocabulary

  • Prompt structure: space type, style, materials, light, time of day and camera angle
  • Common style terms such as Modern Tropical, Japandi, Minimal and Loft
  • Describing materials and textures clearly, such as timber, stone, exposed concrete and fabric
  • Combining reference images with text to control tone and mood
  • Lab: build a prompt library for your own studio

Section 3: Lab: Sketch to Render with Nano Banana

  • Use Nano Banana through the Gemini app and Google AI Studio
  • Turn sketches and clay images into realistic images while keeping the original lines and proportions
  • Edit step by step through conversation, such as changing the floor, adding plants or adjusting light
  • Combine several references in one image, such as a real room and selected furniture
  • Lab: three living room concepts in different styles from a single sketch

Section 4: Lab: SketchUp AI Render

  • Turn on AI Render in SketchUp and check which account types can use it
  • Choose a style preset and write a supporting prompt that matches the design concept
  • Adjust how closely the result follows the model to balance accuracy and appeal
  • Generate several options from one camera view, and know when to finish the image in another tool
  • Lab: render a sample building from a SketchUp model in several styles

Section 5: Workshop: Mood Boards with Midjourney

  • Use Midjourney to explore design directions before going into detail
  • Image prompts and style references to keep a consistent tone across a set
  • Arrange images into a mood board you can actually discuss with a client
  • Understand that Midjourney concepts are not drawings of the design, and how to explain that to clients
  • Workshop: a mood board with three directions for one house
Day 2 Finishing Images for Client Presentations

Section 6: Lab: Changing Materials and Staging Rooms with AI

  • Change floor, wall and counter materials while keeping the room's structure
  • Virtual staging: furnish photos of empty rooms taken on site
  • Produce colour and budget options for clients to compare
  • Always tell clients or buyers which images have been staged with AI
  • Lab: before and after images of a bedroom renovation from a real photo

Section 7: Lab: Precise Edits with Krita AI Diffusion

  • Install Krita and the AI Diffusion plugin locally, or choose a cloud service
  • Inpaint specific areas such as lamps, curtains or decor without affecting the rest
  • Outpaint to change the aspect ratio for slides or social media
  • Use control layers from line art and depth to hold shapes more accurately
  • Lab: finish the details of the Day 1 living room image

Section 8: Lab: Exteriors, Upscaling and Relighting

  • Add context around the building, with trees and planting suited to a Thai climate
  • Change the time and atmosphere: morning, dusk, night and rain
  • Add people and cars for scale, watching for wrong proportions and unnatural faces
  • Upscale and relight with Magnific without adding detail that departs from the design
  • Lab: one building at four times of day, ready to print at A3

Section 9: Copyright, Client Data and Commercial Use

  • Read each platform's terms for commercial use and how rights differ by plan
  • The copyright status of AI images is still uncertain, so never assume an image is copyright-free
  • Do not use other designers' work or images you have no rights to as references in real projects
  • Real people in images need their consent, and client drawings are confidential before you upload them
  • Label images clearly as concepts, not as evidence of completed construction

Section 10: Workshop: A Presentation Set from Your Own Project

  • Choose your own project or a sample brief, and define the concept and target client
  • Work through every stage: sketch, concept image, render and finished image
  • Assemble a presentation set of 6 to 8 images with consistent colour, light and style
  • Present the work, get feedback and summarise the workflow you will use in your studio

Schedule & training options

For individuals — public rounds

No public rounds are open right now. Join the waiting list and we will contact you first when the next round opens, or ask us on LINE. Or call 02-570-8449 or 088-807-9770

For organisations — in-house / private

  • Tailor the content to your team’s tools and projects
  • Your dates, at your office or live online
  • Quotation with tax ID for procurement
Corporate training quote

Instructors

Frequently asked questions

What are the steps for turning a sketch into a render with AI?

Start with a clear source image, such as a clean sketch, a plan or a SketchUp viewport framed at the angle you want to present. Write a prompt in design vocabulary covering materials, lighting, time of day, style and camera angle, then have the AI generate an image that keeps the structure of the source. Finally, fix any areas that are still wrong and upscale the image so it is sharp enough to present or print.

What should a prompt for architectural or interior images include to get the result you want?

Effective prompts use design-specific vocabulary instead of vague words: the type of space and style, such as a minimalist living room; specific materials, such as oak, terrazzo or exposed concrete; the lighting, such as soft morning daylight or warm evening light; and the camera view, such as eye level or wide angle. Specifying all of these helps the AI produce images closer to your concept with fewer revisions.

How can AI swap materials or furnish an empty room in an image?

To swap materials, upload the existing room image and ask for changes to specific elements only, such as timber flooring or a stone wall, while keeping the structure and camera angle. Virtual staging means having the AI place furniture and decor in a chosen style into an empty room photo. If some areas are still wrong, use inpainting to mask and fix just those spots. This course practises both, with spot fixes in Krita AI Diffusion.

Who is the AI Rendering for Architecture and Interior course for, and what should I know beforehand?

It suits architects and interior designers who want to produce concept and presentation images faster, architecture and interior design students, fit-out contractors and home or condominium sales teams, and 3D visualisers. You should have a grounding in architectural or interior design and either basic SketchUp skills or your own sketches and plans to practise with; the level is beginner to intermediate.

What will I be able to do after the AI Rendering for Architecture and Interior course?

You will be able to turn sketches, plans and SketchUp viewports into renders with Nano Banana and SketchUp AI Render, build mood boards in Midjourney, swap materials, stage empty rooms and fix specific areas, create exterior views at different times of day and upscale them for presentation, and check copyright and client confidentiality before delivery. Participants receive a Certificate of Completion with its own number that can be verified online.

Which software and accounts do I need for the AI Rendering for Architecture and Interior course?

You use your own or your company's accounts: a Google account for Gemini, whose free tier limits the number of images, and paid subscriptions to Midjourney, Magnific and SketchUp Pro as needed. Krita AI Diffusion is free but needs a graphics card with 6 GB or more, or a paid cloud service, and you should bring a laptop with an internet connection.